A single-board computer quad-core is used when individuals are building a custom computer. It is actually just a circuit board and it usually has Bluetooth 4.0 connectivity and capabilities and an onboard 802.11N wireless LAN. The single board computer quad core comes built inside of many different brands of motherboards. The quad-core does a few things. Number one it increases the performance of a desktop computer. The next thing the quad-core does is improves on wireless and Bluetooth capabilities in every aspect. This makes using a desktop computer faster and more efficient. The quad-core also increases the speed and efficiency of the desktop computer when it comes to data processing.
What Is A Single Board Computer
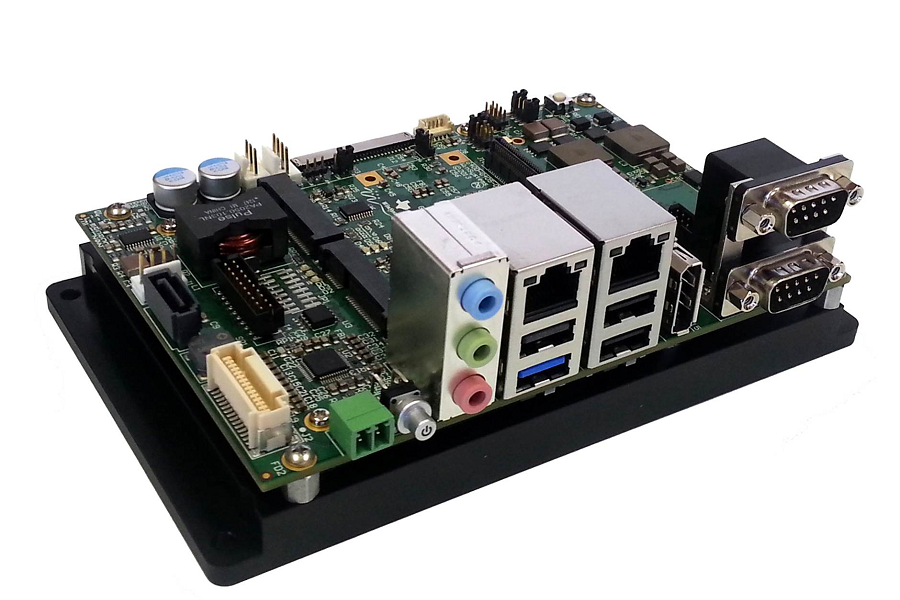
When a complete computer is built on a single circuit board and it comes with other features of a traditional functional computer such as a microprocessor, memory, input and output, and much more. This is known as a single computer board. The purpose of the single-board computer is to help to develop educational systems or to be used as embedded controls for a computer system. The most common places where you can find single board computers being used are in educational or home settings. Mostly all of the desktops and laptops perform their functions on one single printed circuit board.
The main difference between the single board computer and a desktop computer is that the single board computer cannot perform peripheral functions without using expansion slots. There is another type of single-board computer available and it is called a computer on module. What a computer on module does is that it allows for system expansion by plugging into a carrier board, backplane, or baseboard.
Installing Windows 10 Onto A Single Board Computer
The first step to installing Windows 10 into a single board computer would be to prepare the ISO. Once you prepare the ISO you then will need to get the Windows 10 image on the computer. Once the Windows 10 image is on your computer you would use the GUI to get your native language for the final version. The next step in the process will be to click the ISO compiler link. After clicking the ISO compiler link the next step will be to run the CMD file and running this file could take up to 45 minutes or more depending on the computer. One important thing to remember before running the CMD file you must disable the antivirus or you will not be allowed to download the file.
Once the ISO file is complete the next step in this process will be to deploy the Windows ARM. The first step to deploying the windows ARM is to download the deployed script and after you download it immediately extract it. Once this step is completed then you would extract the WoaDeployer.exe file from the extractor folder and then run this file. When running the WoaDeployer.exe file make sure you have plugged a micro SD card into the USB 3 port so you can pick their micro SD card as your running destination.
In the next step, you will be asked for the windows image file and you will then find the mounted windows image and select install.wim in the source folder. After this step, you just click deploy and then okay to confirm the operation. This final step will take your computer about 30 minutes or longer to complete.
The next step in the process will be the boosting of the image. Once the deployment is done insert the SD card into the single board computer and make sure the power is on, the mouse is connected, the keyboard is connected, the monitor is on, and the ethernet cable is connected. When everything is booting tap the Esc key to configure the GUI. The next step would be to set the CPU clock to Max and then select the Micro SD card. You can find the Micro SD card under the tab labeled “Change Boot Order”. After you have done this it will prompt you to finish up and save. When you have saved everything then Windows 10 has now officially been installed. This is not a simple process or a quick process. This entire process actually takes a few hours.